Lighting the object
Skip this step and you'll get lousy results.
The first step is to take images of an object from slightly different angles. Photogrammetric software tries to recognize the same cluster of pixels between images, and based on how the cluters moves, relative to other points, a 3d point is created.
This means the object should be evenly lit from all angles. It must be as shadowless and non-reflective as possible.
Let's go over the two main rules for lighting your subject.
This means the object should be evenly lit from all angles. It must be as shadowless and non-reflective as possible.
Let's go over the two main rules for lighting your subject.
1. Use diffuse light
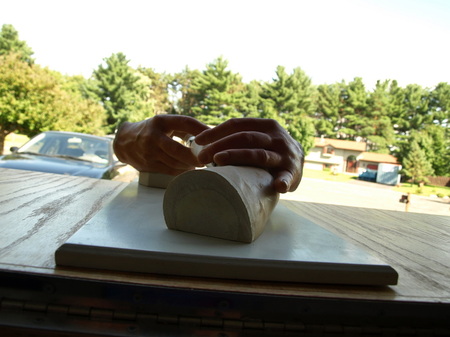
The light hitting your object must be as diffuse (unfocused) as possible. Bright lights and their reflections are your enemies. Cloudy days are your best friends.
Turn off the flash!
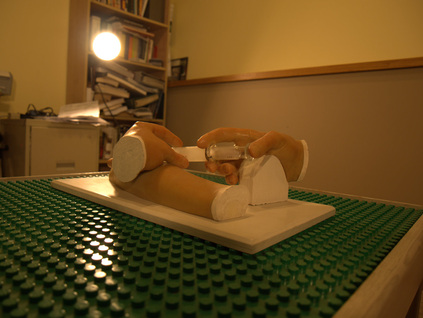
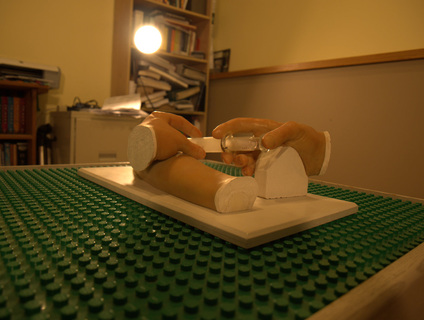
Notice the change in where the light shines on the object (and the table). The software doesn't know what "shine" is. All it knows is that you had a big white spot in the bottom left hand corner, and in the next image the color has changed. Our brains forget this, but the software sees only pixels.
2. No shadows
The light must also be bright enough to prevent shadows. Where there are shadows, the software will only see a dark uniform color, not the actual color and texture of the object. And bright light keeps your pictures from being blurry
To sum up: the light must come from every direction, equally with no shadows.
And the light has to be bright enough so the image is not blurry (I'm looking at you, shaky hands.)
And the light has to be bright enough so the image is not blurry (I'm looking at you, shaky hands.)
Solutions:
- Wait for a very cloudy day. My favorite, but not always possible.
- Set up lights so that the object is bathed in perfectly even, constant, soft light.
Once you've got that, you're ready to move on.


